compiled by Dave Clark
See also the: WILKINSON SUB-TARGET MACHINE ...~.: S.M.L.E. SUB-TARGET DEVICE ..~: HOLLIFIELD "DOTTER" .~.. CUMMINGS "DOT" RIFLE ~... PRACTICE RODS
The attachment consists of the following parts:-
A) Chamber rod with three spare sticker nuts (these are hit by the rifle's firing pin during usage).
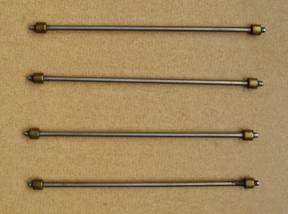
B) Four barrel rods.
C) One rod with spring to operate the unit.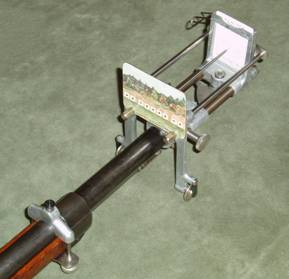
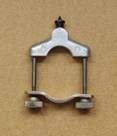
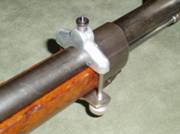
D) One front sight.
E) One aiming target holder.
F) One aiming target.
G) One operating unit with striking pin and cardboard target holder.
H) One barrel packing piece.
I) One zero plate.
J( One cardboard target (with 6 spares).
*********************
THE INSTRUCTIONS
1. Remove the rifle bolt; insert the chamber rod (A) with the large nut nearest the firing pin; and replace the bolt.

(firing pin end) .......................(inside barrel)

Spare striker nuts
2. Insert the four barrel rods (B) from the muzzle end.
3. Fit the front sight (D) on the barrel at the muzzle end of the stock.
 ............
***************
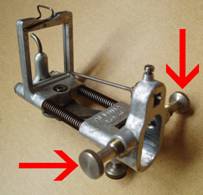
4. Fit the rod with spring (C) into operating unit (G); spring end free.

(barrel end)........................ (unit end –red arrow)
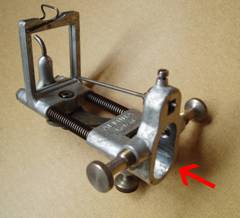
5. Fit the barrel packing piece (H) in the operating unit (G) and then fit the unit onto the rifle (ensure rod C is correctly aligned) so that the two adjusting screws are located on the fore sight. Adjust these screws later. The third screw under the unit (G) locks the unit onto the barrel.
 ....................
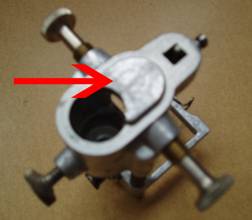
**************
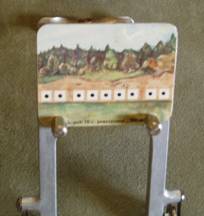
6. Fit the aiming target (F) onto the aiming target holder (E). Put the arm of the aiming target holder (E) so that the hole goes through the locating pin on the operating unit (G). Swing the aiming target holder over the unit (G) so that the target is visible from the breach end.
 ...............
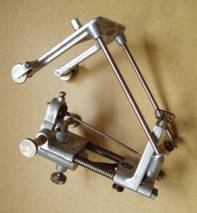
7. Slot the zero plate (I) into the slot for the cardboard TARGETS with the notch over the pin arm (the zero plate holds the pin still).
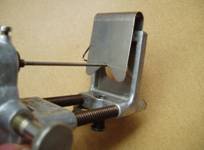
8. Adjust the vertical front sight screw (D) and the two screws (G) (next the rifle fore sight) so that the point of aim is the centre of the middle aiming target (F).
***********
9. Remove the zero plate (I) and put a cardboard target (J) into the slot.
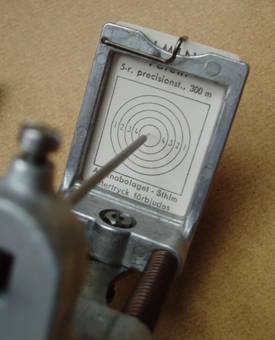
10. The rifle is now ready for use. Rest the little wheels of the aiming target holder (E) on the ground. Fully support the rifle and cock the rifle bolt; aim at the centre of the middle target. Pull the trigger when ready and the pin will jump forward and mark the cardboard target and the pin will automatically return to the ready position.
11. Repeat and then check the cardboard target to see what the scores are.
See also the: WILKINSON SUB-TARGET MACHINE ...~.: S.M.L.E. SUB-TARGET DEVICE ~...: HOLLIFIELD "DOTTER" .~.. CUMMINGS "DOT" RIFLE ~... PRACTICE RODS
Should you not already have done so, please also view the pages detailing
the British "Swift Training Rifle "and the Canadian "Long Branch Training Rifle" of 1943 vintage.
View a Chronology of Enfield genre Training Rifles, Adapters & Cartridges